
Your ZEN57 240V XS Relay will work great with SmartThings with the custom driver installed. The driver ensures your device is correctly recognized on SmartThings and ensures access to all available advanced settings.
Once you have installed the custom driver linked above, you can follow the steps below to include the device to SmartThings.
Inclusion Steps
- Power the relay up
- Tap the plus icon in the home screen of the SmartThings app
- Tap Device
- Tap "Scan QR code." Scan the QR code printed on the back of the relay
- Input the 5-digit pin
- On the SmartThings app, select the hub and room you'd like the device added to and click Next
- When the app says "Get your device ready to connect", click the Z-Wave button 3 times as quickly as possible (the LED indicator will start flashing).
- A few seconds later, the app will display a new device on the screen.
- Click Done
Important Note: A steady, blinking green is the standard state for the device; as long as the unit has power, it will blink green at a steady pace. The device has an internal relay, which can turn on and off with a click of the Z-Wave button. This means that when you are attempting to include or exclude the device, the clicks need to happen as fast as possible; if the clicks are not completed fast enough, the relay will engage instead and the device will not enter inclusion or exclusion mode. You will know you have clicked fast enough when the LED indicator begins flashing rapidly.
Troubleshooting Steps
If your ZEN57 Relay is having trouble being added, begin the exclusion process to assist with any configuration or inclusion issues. It can be done even if the unit hasn't been added before:
- Tap on your hub in the home page of the app or find it under Devices in the SmartThings app
- Tap the three dots in the top right
- Tap Z-Wave Utilities
- Tap Z-Wave Exclusion
- While the app is searching for a device, click the Z-Wave button 3 times as quickly as possible.
- The app will indicate when the device is successfully removed. Tap Done
Still having troubles? Check out the troubleshooting steps linked here.
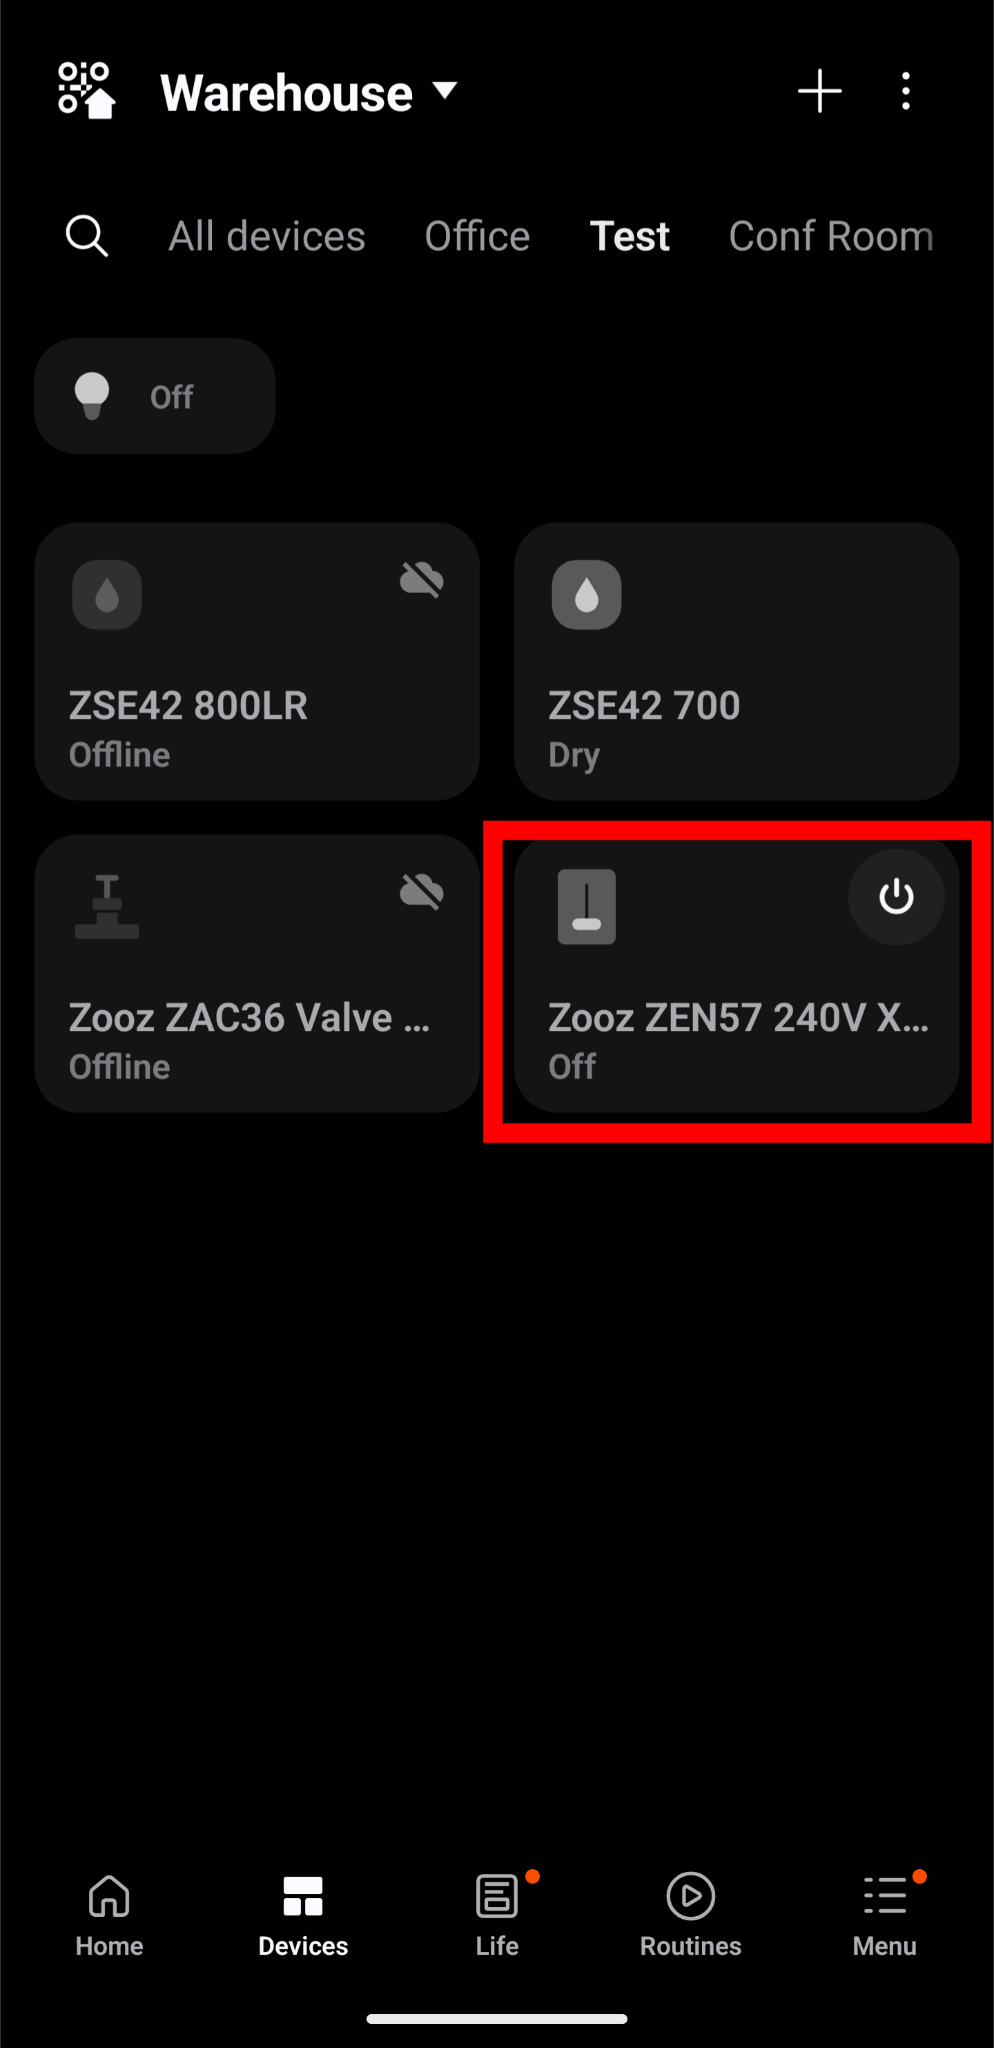
Device Display
1. Device Tile
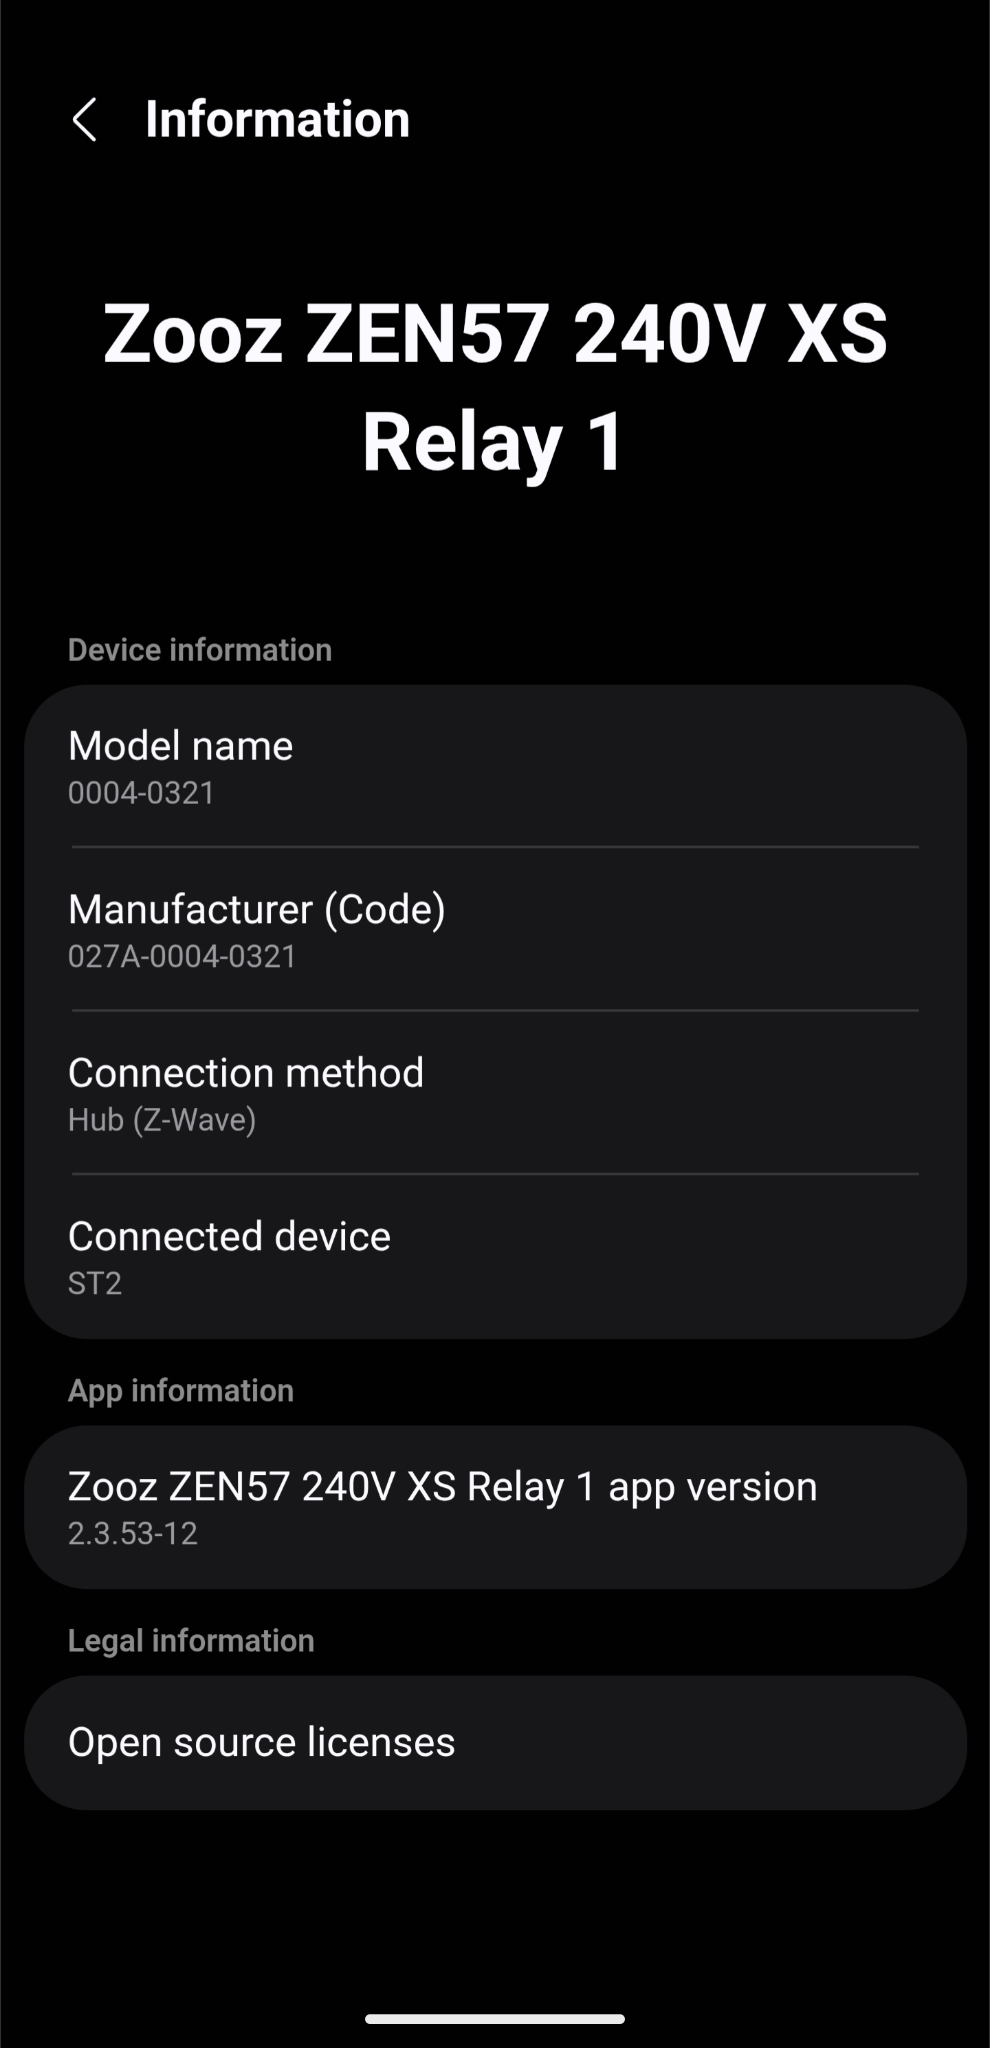
2. Device Details
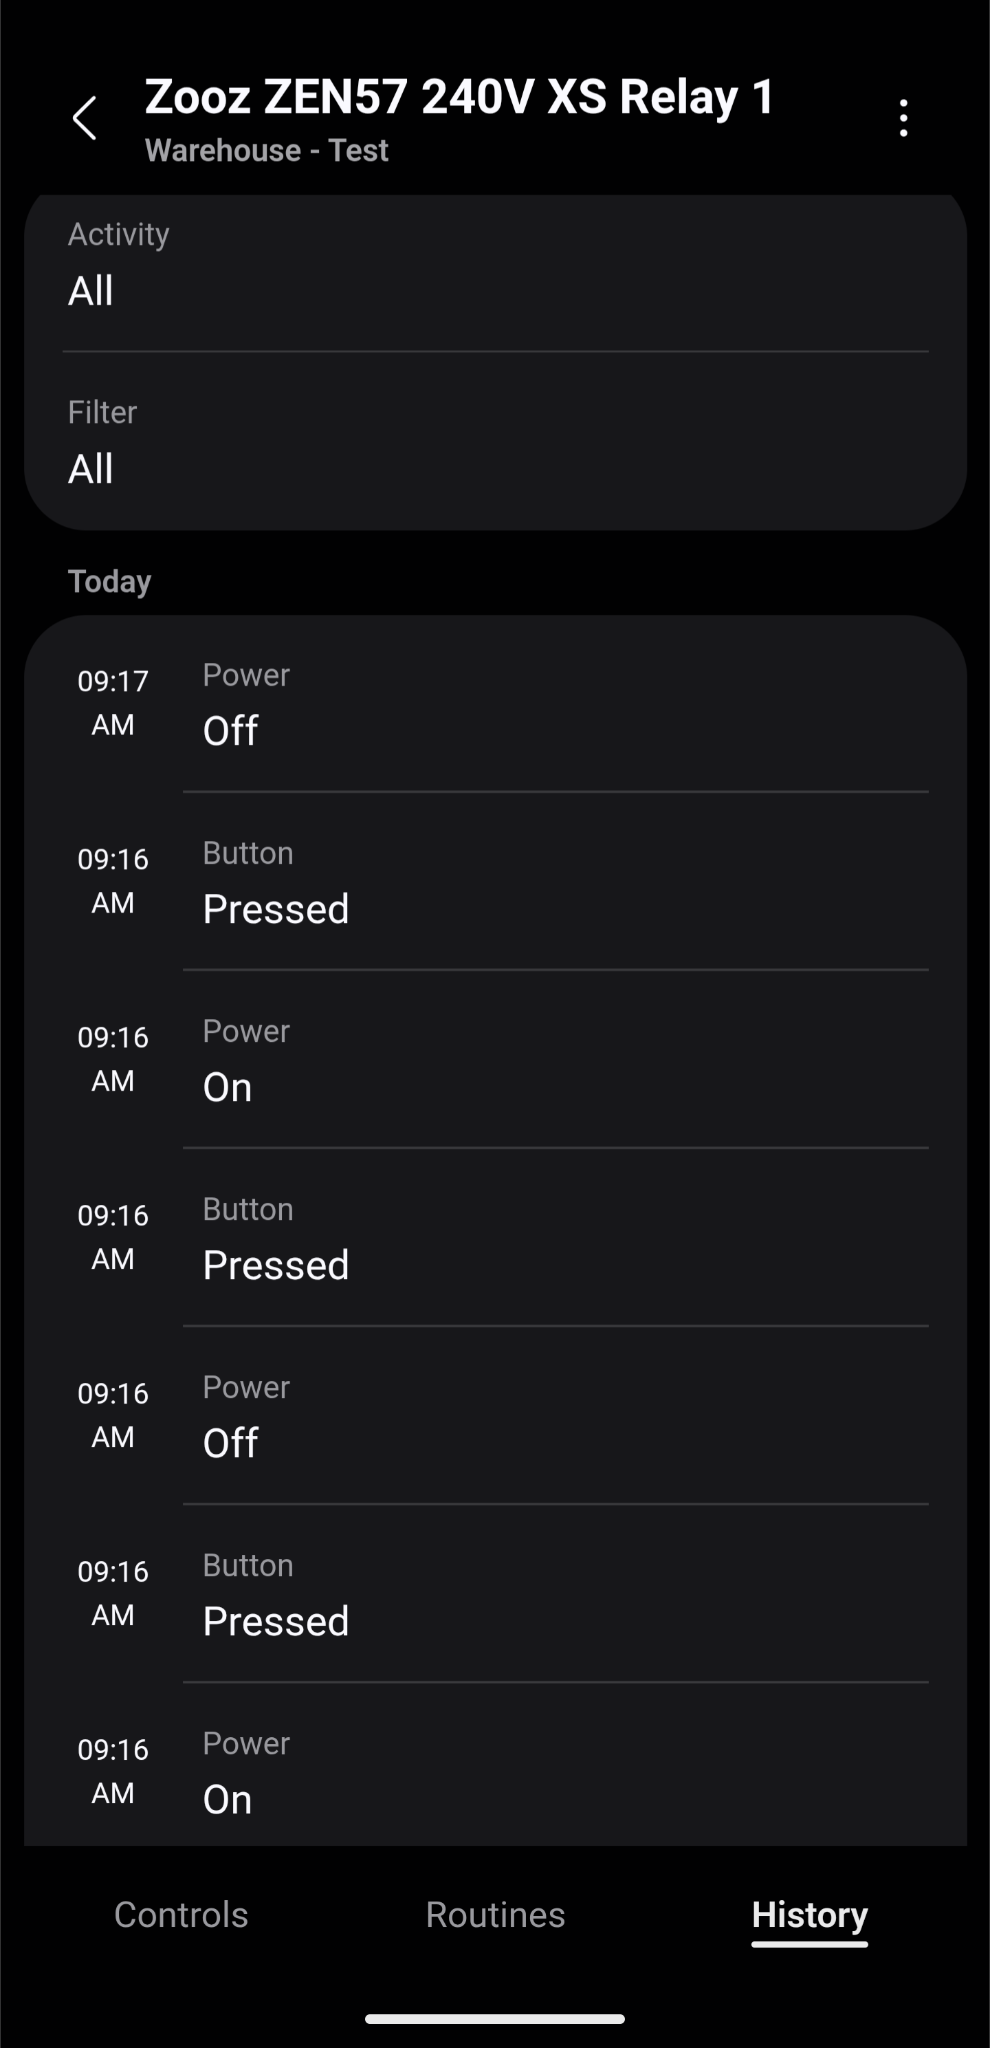
3. History
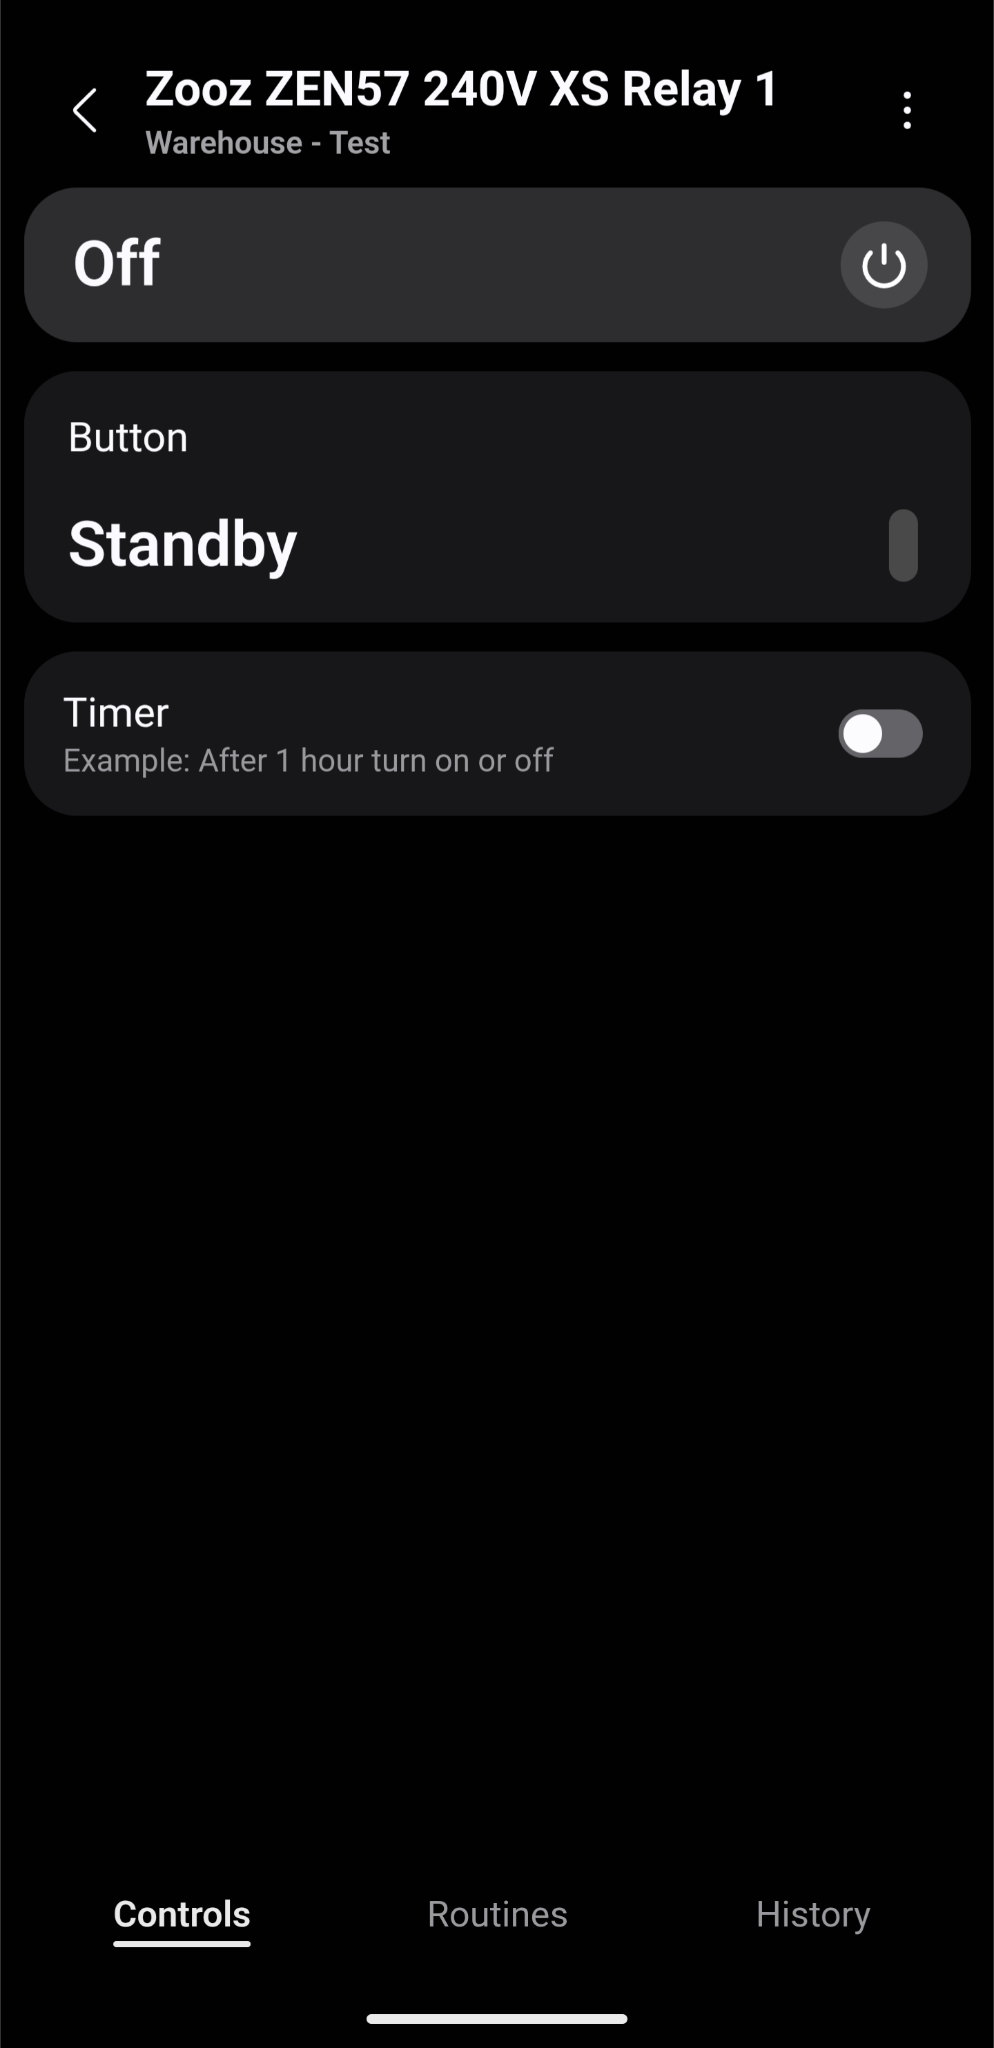
4. Controls
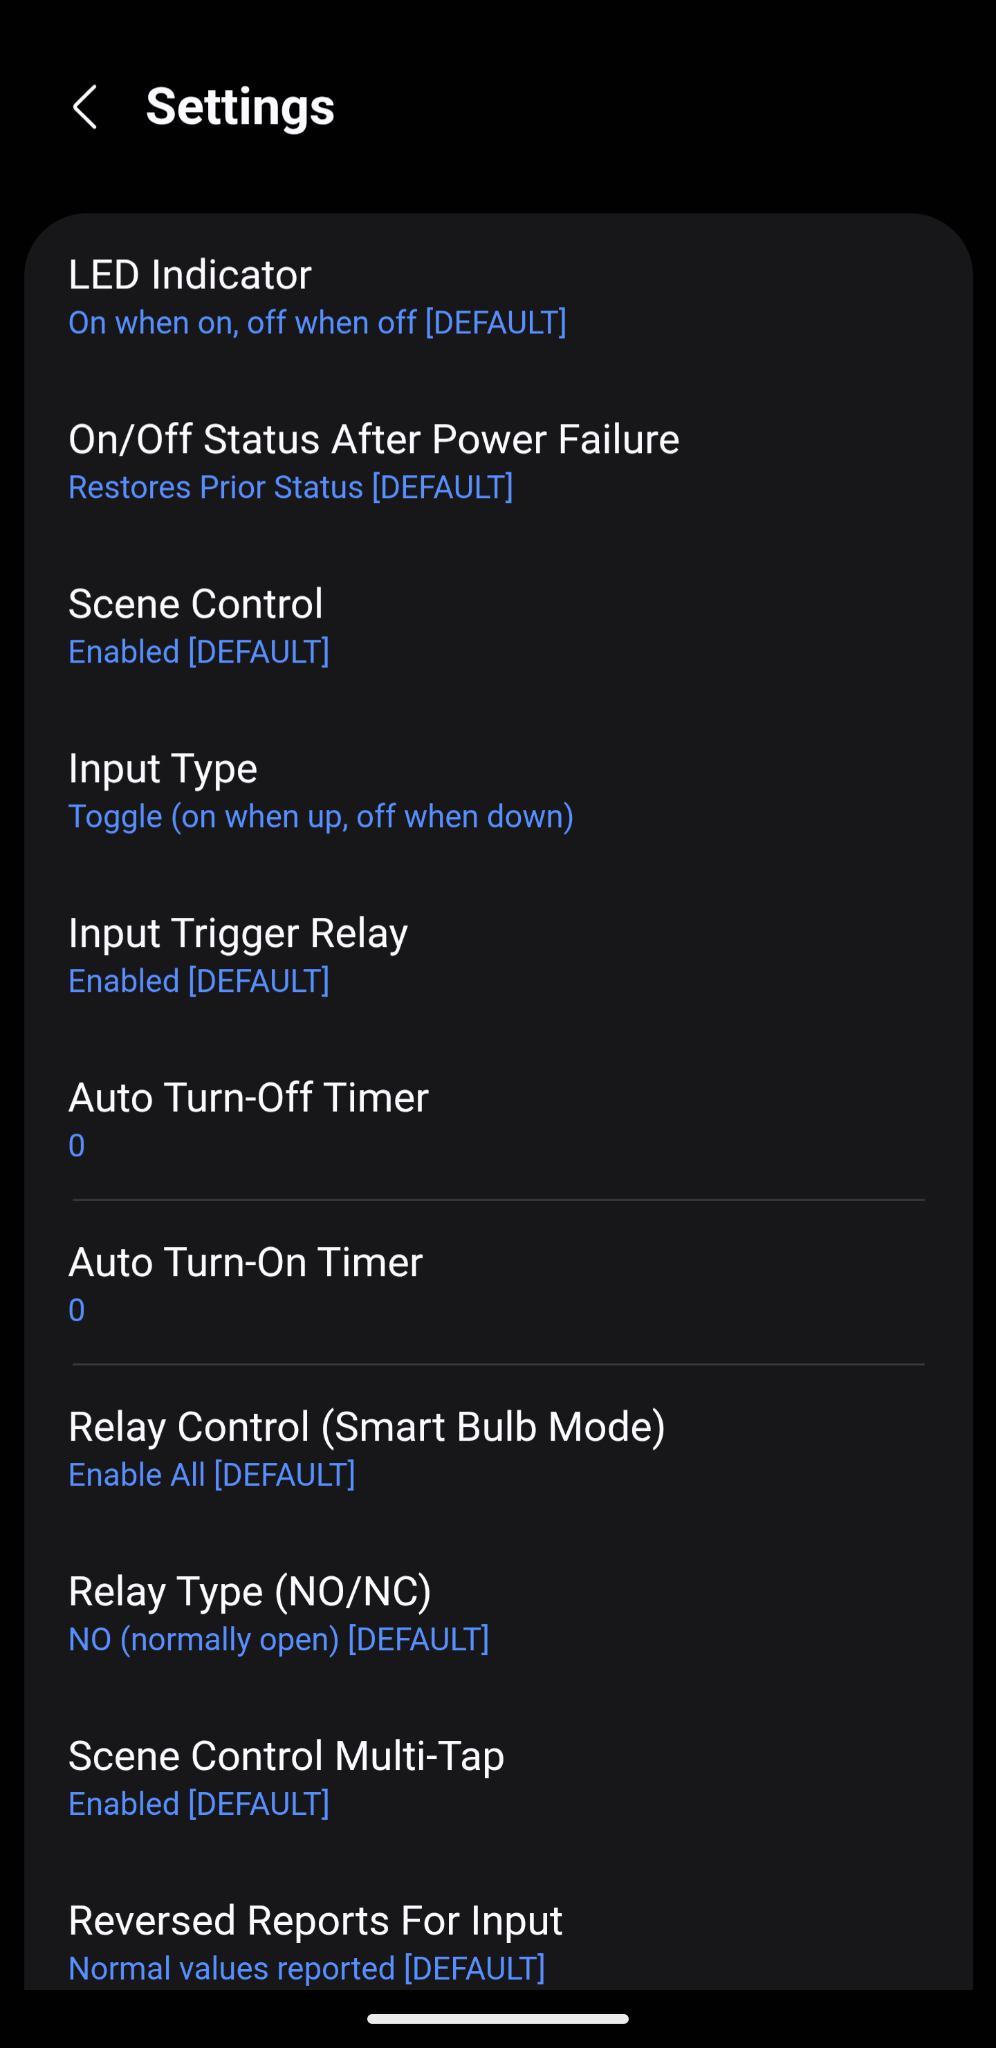
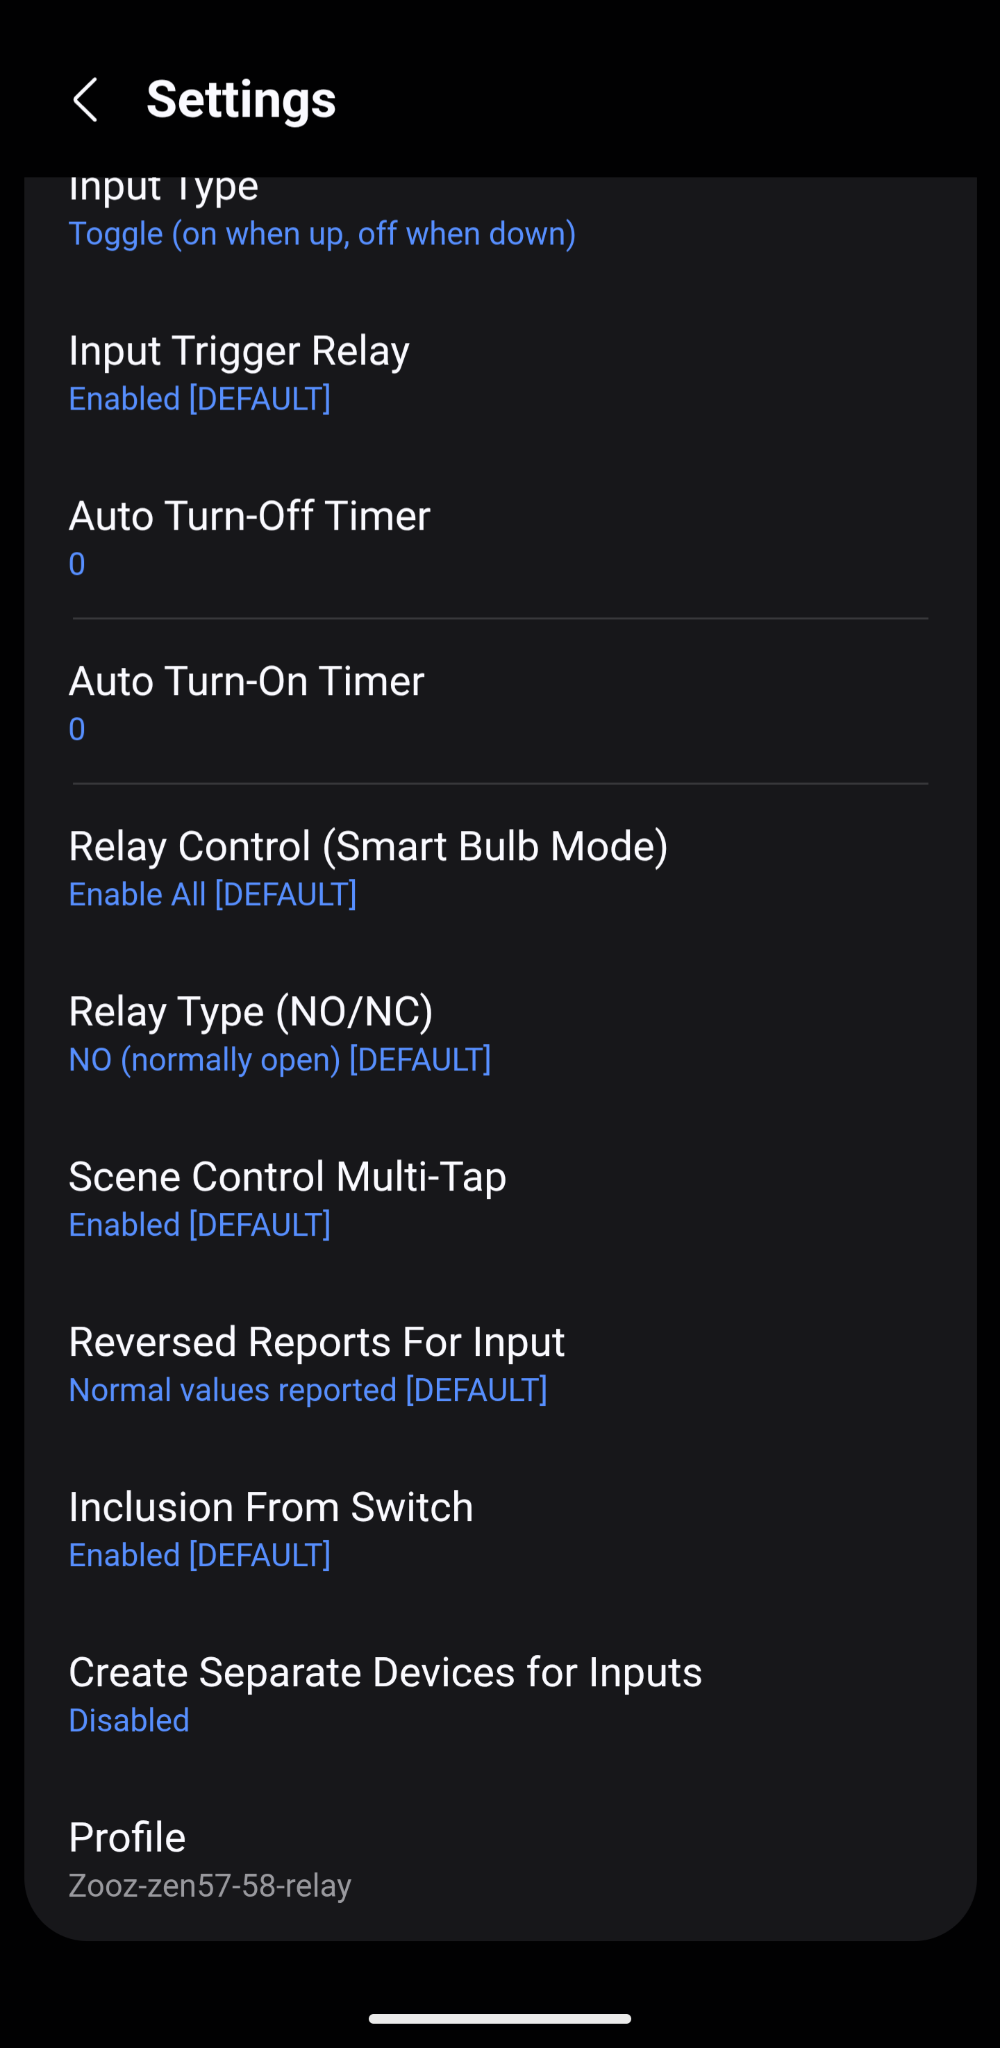
5. Settings
6. Settings
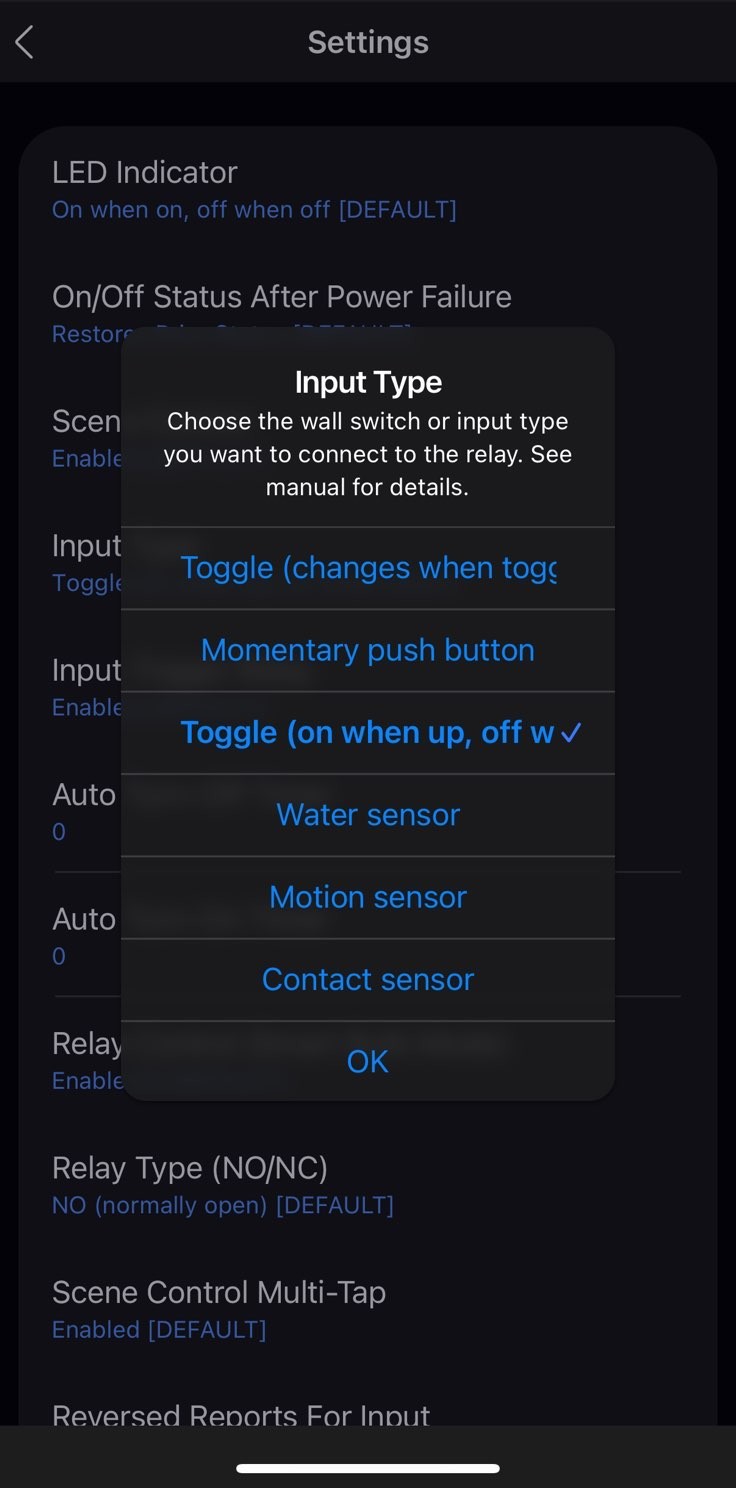
7. Options available on SmartThings for Parameter 5: Input Type
Let us know if you have any questions!

